That white fluff in the leaf joints of your hibiscus or jade is not dust, and it is not mould. It is mealybugs: small, soft, oval insects in a waxy white coat, feeding on sap. In week one there are a few dozen, and a cotton bud clears them in ten minutes. Leave them a fortnight and there are egg sacs in every joint and under the pot rim, the leaves are sticky and yellow, and the plant may be past saving.
How to spot them
Look where leaves meet stems, along the central vein on the underside of leaves, and in the tight new growth at the tips. Early signs are cottony white tufts about the size of a grain of rice, and a sticky shine on the leaves below: honeydew, the sugary waste they leave behind. Ants climbing the stem are often the first giveaway, because they feed on that honeydew. Black sooty mould on the sticky patches means the colony is well established.
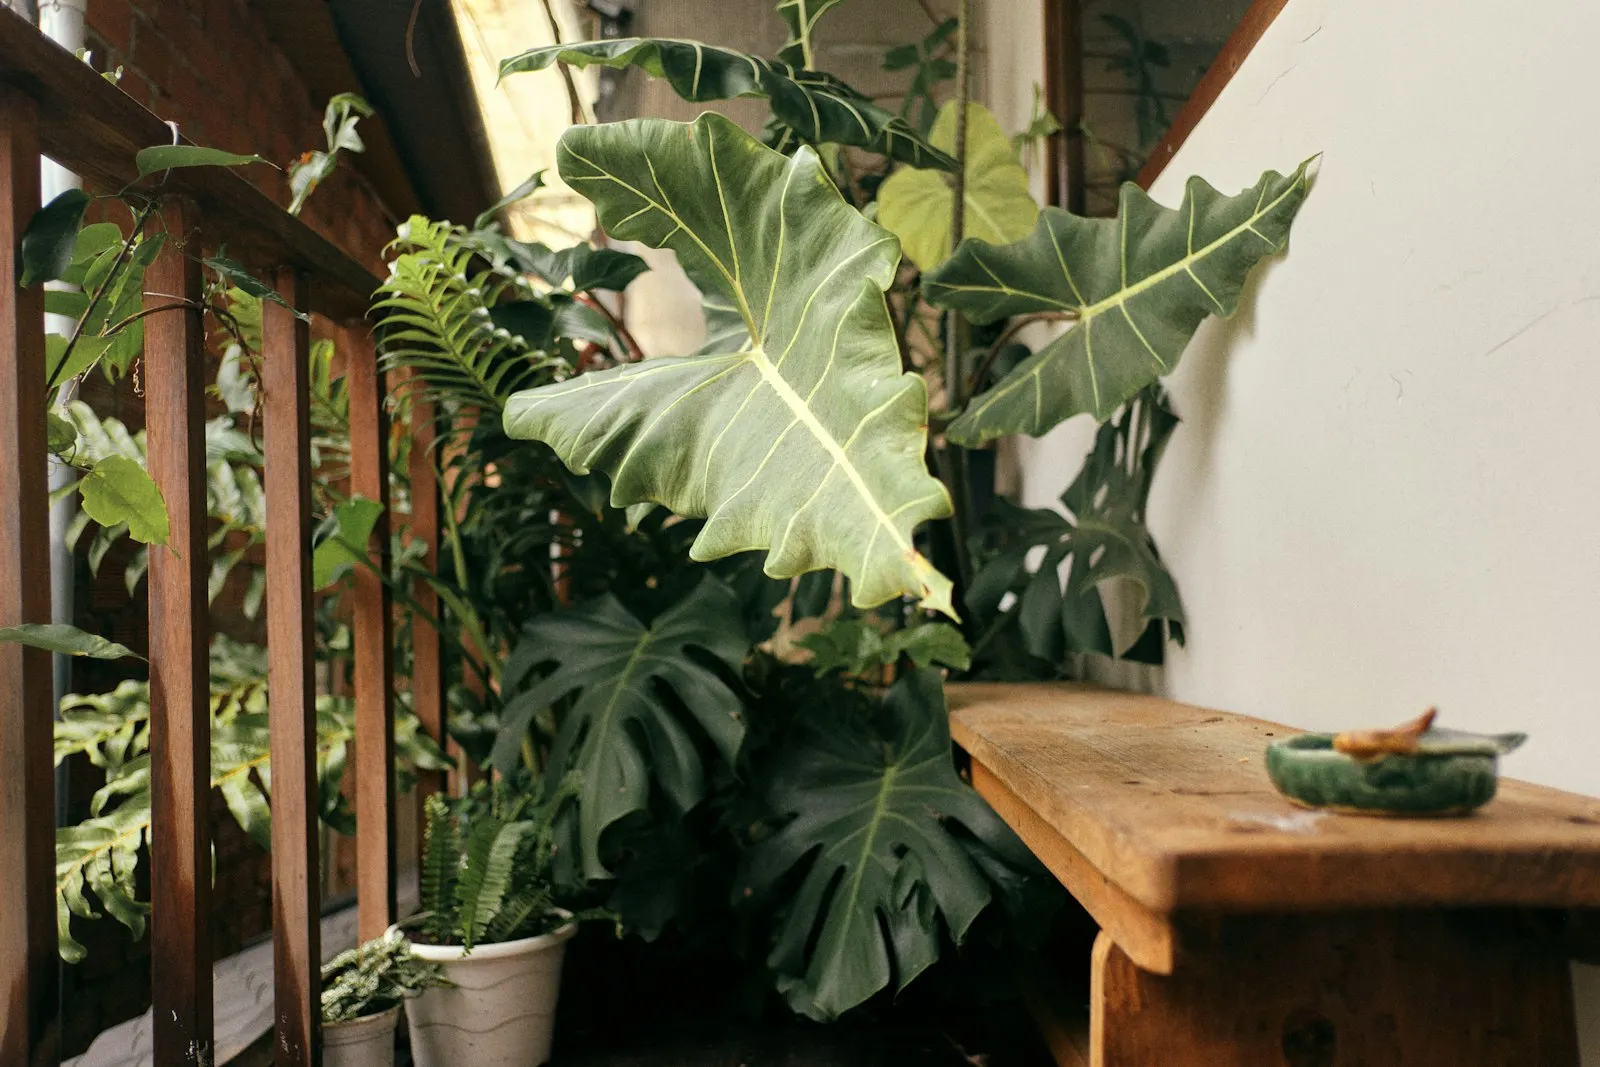
On the balconies we look after, hibiscus, jade, croton, adenium and money plant are the usual hosts. In our experience outbreaks are worst in the warm, dry weeks before the monsoon, which is exactly when the weekly check matters most. New plants are the other common source. Anything that arrives from a nursery should sit apart from the rest for two weeks, with a proper look under the leaves and around the base of the stem before it joins the others.
First: isolate and wipe
Move the plant away from the others the moment you see them. Mealybugs crawl, and they travel on hands and tools. Knock off large clusters with a jet of water, then dip a cotton bud in rubbing alcohol and touch each remaining tuft. The alcohol dissolves the waxy coat and kills them on contact. Check the soil surface and the rim of the pot too, because that is where the egg sacs hide.
A plant that looks clean after one treatment is not clean yet. The eggs are where you cannot see them. Keep going for the full three weeks.
Then: neem oil, repeated
Mix 5 ml of neem oil into a litre of lukewarm water with a few drops of liquid soap, which helps the oil disperse and stick. Shake well and spray every surface: the tops and undersides of leaves, stems, leaf joints and the soil. Spray in the evening, never in midday sun, which can scorch oiled leaves. Make a fresh batch each time; the mix separates within hours.
One spray is never enough. Eggs keep hatching over the following days, and the new crawlers were not there to be hit the first time. Repeat every 5 to 7 days for three weeks, wiping any new tufts with alcohol as you go. Keep the ants off too: wipe the stem and pot rim, and stand the pot in a saucer of water for a few days if they keep coming back. Only when two weekly checks in a row find nothing is the plant ready to rejoin the others.
The three week mealybug plan
6 thingsWhen it is a write-off
If there is white fluff on the roots when you slide the plant out of its pot, or more than half the plant is covered, treatment becomes a long fight you may not win. Take cuttings from clean, healthy tips and root them in fresh mix. Bag the old plant and its soil and throw them away, and scrub the pot before reusing it. Better to lose one plant than let it seed the whole balcony.